How to Restore a MySQL Database Using Binary Logs — Full Recovery & Simulation Guide
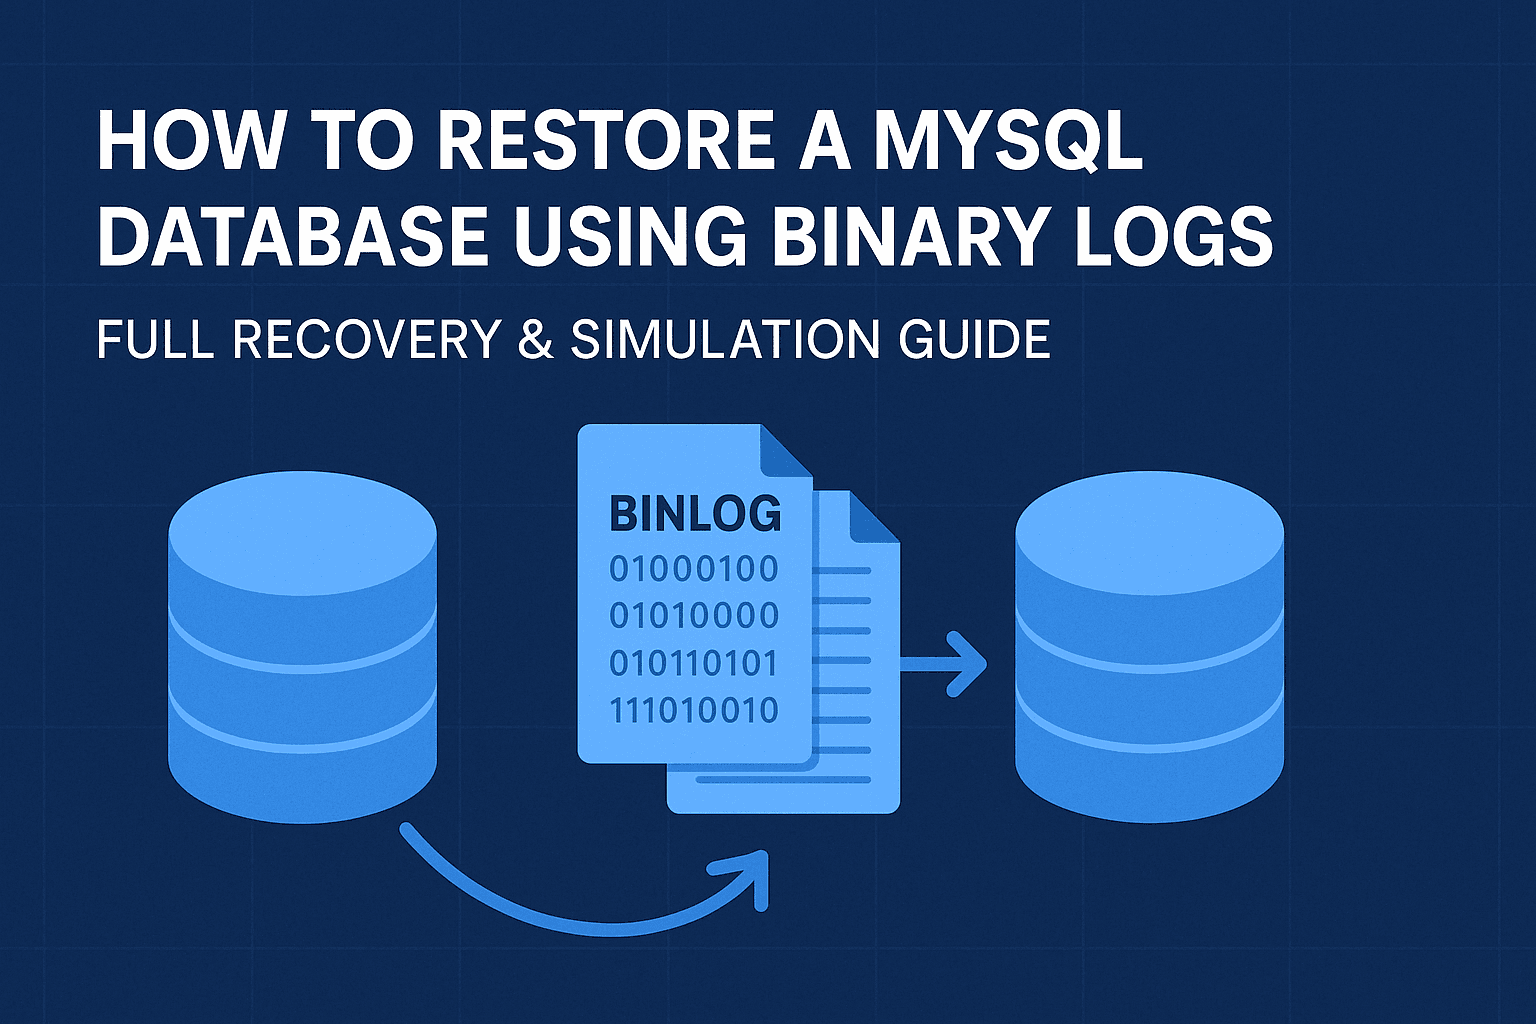
When disaster strikes — like accidental deletions, dropped tables, or unexpected data loss — having binary logs (binlogs) in MySQL can be a lifesaver. Binlogs record every change made to your data, and with a bit of strategy, they can help restore your database to a precise point in time.
This guide walks you through how to:
- Extract the current database from a live server
- Set up a safe local test environment
- Replay changes using MySQL binary logs
- Restore your data up to the moment before the crash
- Verify that everything is intact
Prerequisites
You’ll need:
- Access to the live MySQL server (production)
- Binary log files (
binlog.00000X) - MySQL access on your local/test server
- SSH or MySQL credentials to connect to both environments
Step 1: Export the Current Database from the Live Server
We start by exporting the schema (structure) and optionally the data from your production database.
Schema-Only Dump (No Data):
mysqldump -u root -p -h <prod-host> -P 3306 --no-data sample_database > schema_only.sql
🔍 This exports only the table structures without any data. Useful if you'll replay data changes from binlogs.
Full Dump (Schema + Data):
mysqldump -u root -p -h <prod-host> -P 3306 sample_database > full_backup.sql
🔍 This exports both the schema and the data. Use this if you want to fully mirror the production database.
Step 2: Prepare the Test Server
On your local or test server, prepare the environment to safely simulate the recovery process.
Create the database:
mysql -u root -p -e "CREATE DATABASE IF NOT EXISTS sample_database;"
🔍 This creates a new empty database to hold the restored data.
Import the schema (or full backup if you took that):
mysql -u root -p sample_database < schema_only.sql
🔍 This loads the table structures into your test DB.
Or if you exported the full database with data:
mysql -u root -p sample_database < full_backup.sql
🔍 This recreates the entire database — structure and content.
Step 3: Extract SQL from Binary Logs (Up to a Specific Crash Time)
We now extract all database changes from the binlogs up to just before the incident (e.g., a crash or accidental delete).
mysqlbinlog --stop-datetime="YYYY-MM-DD HH:MM:SS" \
  --database=database_name \
  binlog.00000x binlog.00000x > restore_data.sql
🔍 This converts binlog files into SQL statements only for the selected database, stopping at a specific date/time. Replace the date/time and filenames as needed.
Step 4: Apply Binlog SQL to the Test Database
Apply the SQL extracted from binlogs to your local database.
Run the extracted SQL file:
mysql -u root -p sample_database < restore_data.sql
🔍 This replays the SQL commands on the test DB — essentially re-creating the data state just before the crash.
Skip errors if needed (e.g., missing rows/tables):
mysql -u root -p --force database_name < restore_data.sql
🔍 The --force flag tells MySQL to keep going even if some statements fail. Use this with caution.
Step 5: Verify the Restore Was Successful
Let’s confirm the restore worked and no data is missing.
Compare Table Row Counts:
SELECT table_name, table_rows
FROM information_schema.tables
WHERE table_schema = 'database_name';
🔍 This shows estimated row counts for every table. Run this on both the test and original DBs to compare.
Check a Specific Table:
SELECT COUNT(*) FROM sample_table;
🔍 Count total rows in a key table.
SELECT * FROM sample_table LIMIT 10;
🔍 View a sample of rows to visually confirm the data is there.
Save row counts to a file (optional):
mysql -u root -p -e "SELECT table_name, table_rows FROM information_schema.tables WHERE table_schema = 'database_name';" > rowcount_test.txt
🔍 This saves table row counts to a text file so you can compare it to production later.
Optional: Copy Restored Data Back to Production
Once you're confident the test restore is successful, you can move specific tables or the full DB back to production.
Export a table from the test server:
mysqldump -u root -p sample_name table_namee > table_name.sql
🔍 This creates a SQL dump of one specific table.
Import it on the production server:
mysql -u root -p production_database_name < table_name.sql
🔍 This imports the recovered table back into your production environment.
Summary of Key Commands
# Export schema only from production
mysqldump -u root -p -h <prod> --no-data database_name > schema_only.sql

# On test server: create and import
mysql -u root -p -e "CREATE DATABASE database_name;"
mysql -u root -p database_name < schema_only.sql

# Extract changes from binlogs (to a certain point in time)
mysqlbinlog --stop-datetime="YYYY-MM-DD HH:MM:SS" --database=database_name binlog.00000x binlog.00000x > restore_data.sql

# Replay changes on test server
mysql -u root -p database_name < restore_data.sql

# Verify restore
mysql -u root -p -e "SELECT COUNT(*) FROM table_name;"
Conclusion
Restoring a MySQL database using binary logs is a powerful way to recover from accidents or roll back data to a specific point in time. By simulating the recovery in a test environment first, you ensure:
- Your binlogs are working
- No unexpected errors occur
- You can validate data before touching production
Always combine binlogs with regular full backups for a robust recovery strategy. With a bit of practice, you can confidently handle even the trickiest data recovery scenarios.